Written by Megan Weaver

Tell me if this has happened to you…
You get on Instagram – start scrolling and end up on this gorgeous profile with perfectly lit flowers, stationary and coffee mugs set on a gorgeous marble background and you wonder…how do they get their images to look SO GOOD?
I wanna let you know it is possible for you to create gorgeous images for your Instagram feed and it doesn’t have to take forever or be expensive (yay!)
First things first…
Decide on Your Instagram Feed & Style
The first thing you need to do is to decide how you want your feed to look like.
Here’s an example of my feed. I love bright, colorful and happy images:
Do you prefer white and bright photos, colorful, neutral, or darker images with shadows?
Is there a certain emotion or feeling you want your followers to experience while they’re on your feed?
Once you know your style preference – keep that in mind when you’re creating photos for your account so it’s cohesive and fits with your brand.
If you’re just starting your feed OR even if you’ve been posting for a while, it’s ok to experiment if you’re not sure what your style is. You can always delete old photos if you want to make it more cohesive or adjust your style.
Then get your lighting right!
Now that you have an idea of your style, one of the most important aspects of creating a great photo is the lighting.
I’m a huge fan of natural light and use it for 99% of the photos I take.
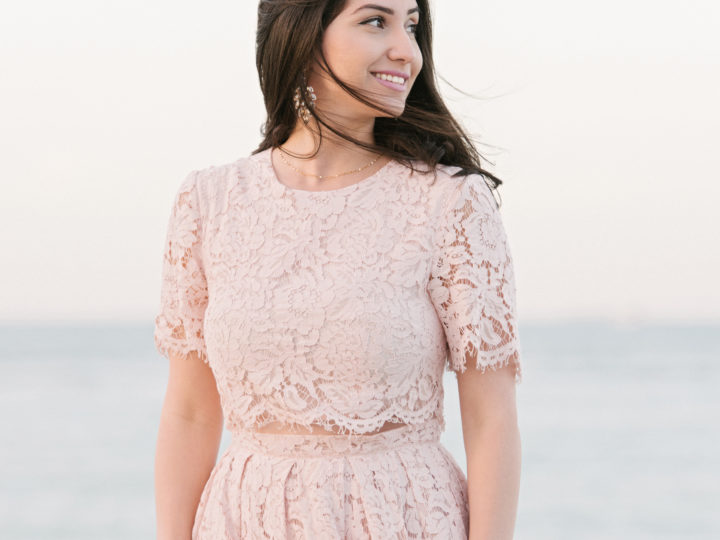
If you are going to be shooting portraits for your Instagram – the best times of day are the first few hours after sunrise and the last 2-3 hours before sunset. These are the best times because the light is softer and won’t be as harsh on your model.
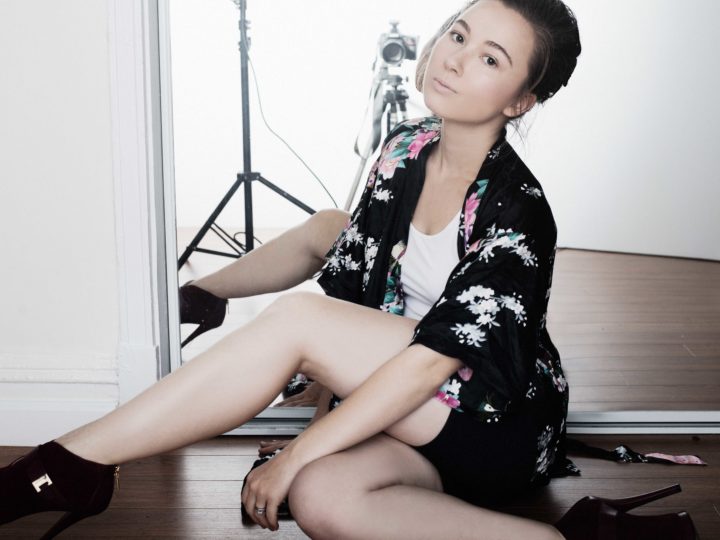
If you’re shooting inside, try to shoot close to windows – with either your model’s back towards the window so they’re back lit or you can have them turn towards the window so it’s even on their face. If you’re shooting with your phone, focus on her face/skin and try to expose for that so it’s not blown out.
If you want to shoot a lot of styled table top or lay flat images – here’s the process you can use to create bright, naturally lit images:
The easiest way to shoot with natural light is by a large window or door – here’s how I do it at home:
STEP ONE
Find an space by a large window or door. If there are blinds – make sure they’re turned up so there are no harsh lines coming down directly onto the area you’re shooting on so the light is even and diffused. You can shoot on a sunny day with the blinds turned up slightly, or on a cloudy day and open the blinds completely since the light is already diffused.

STEP TWO
Setup your background. If I’m styling a photo at home, I typically use either a white background or fake marble background because I prefer a bright and white aesthetic. I have a white foam board and put it on a flat surface – either a table or the ground right in front of the window. Other background options you could use are:
• Real or fake marble texture – I found a fake marble texture on Amazon for $7 and you can apply it to plywood to make it stronger and avoid wrinkles
• Darker textures like wood, slate, or chalkboard
STEP THREE:
Get the correct lighting. To do this I add another white board parallel to the window so the light coming in from the window is reflected back onto the product and removes shadows. If you prefer a darker aesthetic with shadows there’s no need to use the second board.
If you want to create even more light and eliminate shadows – you can also add white boards on either side of the bottom board – taping them together or propping them up and it will eliminate shadows on either side of the objects.
STEP FOUR
Style your products – if you’re shooting directly above your products – I would decide if you want it to be more minimal with everything styled in the center – or if you want additional props in the edges/corners to fill the frame. You can also have everything line up squarely or set things more at an angle – play around with it and see what you like best.
If you’re not loving it at first, that’s completely fine! Sometimes when I’m styling products I have to step away and come back to it before I find a setup that I like.
If you’re shooting something that’s taller and you want to see the height of it – like a stack of pancakes for example – I would setup a third white board on either side of the board perpendicular to the window – and use that as the background for the photo.
Shooting with your iPhone – if you’re planning to post in square format I would shoot in square so you can see the exact composition you’ll have in the end – likewise with the taller image option. This will help you avoid having to crop in later and lose quality in the image.
Lastly, here are some composition tips you can use to make any photo more interesting for your Instagram:
A well composed image guides your viewers eye to the most important parts of a picture and can enhance an image that would otherwise be boring.
◦ Rule of Thirds – Imagine the image has two vertical and two horizontal lines breaking the image into 9 squares. In this rule, you try to put the subject at one of the four intersecting points or on one of the vertical lines. This helps create more interest and balance.
◦ Patterns: Patterns are extremely pleasing to the eye – and are especially great for Instagram! You can look for patterns that appear in nature or ones that are man-made. Patterns suggest rhythm or harmony which is pleasing to the eye. You can also break the pattern up to create more interest in an image – by placing someone or something in the middle of the pattern or to the side so the eye has somewhere to go.
◦ Framing: Frames can help create more interest in an image as well – again they can be natural or man-made. You could also use frames like arches, doorways, tree branches, tunnels, or windows. Framing helps to lead the viewers eye to your subject. It can also show more depth since the frame is usually closer to the camera. When shooting – ask yourself if the frame will add to or take away from the subject and image as a whole.
◦ Leading Lines: This is another fun rule to start noticing while you’re shooting (and even when you’re not). The human eye is naturally drawn in to a photo along the lines – the lines can be straight, curvy, diagonal etc. Use the lines to guide your viewers eye where you want it to go. You can also use diagonal lines to help create drama in your image by adding depth.
◦ Symmetry: Symmetry is obviously when both sides of the image look the same. The image can be natural or man-made – look for symmetrical patterns with strong lines, patterns and curves. Even if it’s a really simple image, it can be made stronger by symmetry.
◦ Rule of odds: This is the thought that odd numbers are more pleasing to the eye than even ones, because we tend to look at an object that’s in the center of the group. This creates tension which makes for a more interesting photo. You could do this with people, or bigger objects like trees or buildings to create more interest and balance.
I hope these tips are helping in creating your next Instagram photo!
Megan Weaver is a photographer for fashion and lifestyle bloggers and women entrepreneurs based in Dallas, TX. Her work has been featured in Rue Magazine, Style Me Pretty, PureWow, and Real Simple to name a few. She is also passionate about teaching fashion and lifestyle bloggers how to create gorgeous images with their DSLR.
If you’d like to learn more about photography, you can sign up for her free email photography course, Shooting with Confidence here: http://bit.ly/freeSWC
Follow Megan Weaver on Instagram at @meganmweaver.
